NodOn innovates: a battery-free Zigbee sensor to monitor temperature and humidity!
Discover our latest innovation: our Zigbee Temperature and Humidity Sensor

Nous serions ravis de vous compter parmi nous lors des Rendez-vous de l’Energie qui se tiendront à Paris le 13 Mars 2025

Producing useful: Functional products for a better world
Last year, we started our series of articles around the theme “Produce better, produce usefully, produce less!”. You will find the link to the 1st article “Produce Better” Here , however, is a l...





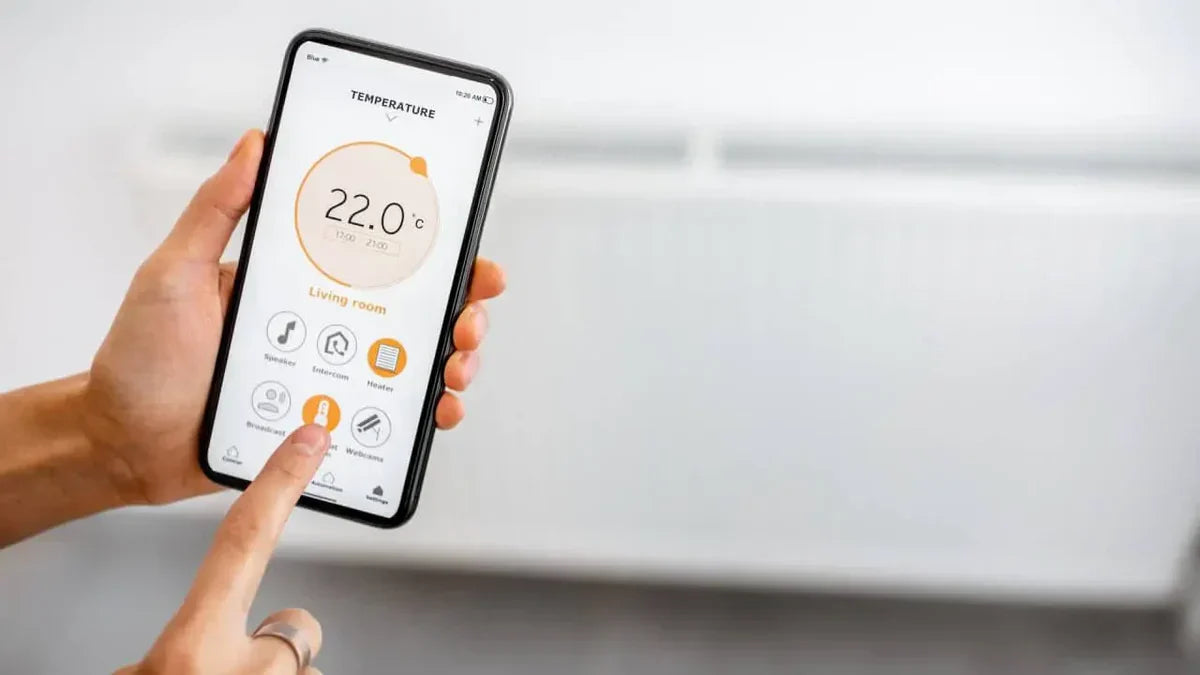
Connected Heating: Optimize your Comfort Room by Room
Did you know that from January 1, 2027, it will be mandatory to have a automatic room-by-room heating temperature control system? Precisely, to help households anticipate the implementation of...

Energy sobriety, every action counts
Energy sobriety is an approach aimed at reducing energy consumption, without reducing the comfort of life. It is necessary to reduce our dependence on fossil fuels and combat climate change. T...
You probably know this because we have been saying it here and there since the beginning of the year: in 2023, NodOn celebrates its 10th anniversary . As you can imagine, at NodOn we are all...

EnOcean, the wireless protocol par excellence for Smart Building
Wireless is everywhere today. There are wireless products in every field, in every industry, for every purpose… And for good reason! The various wireless technologies are now ext...

NodOn DCL cover, multifunction Zigbee module and Philips Hue: a winning trio!
I installed the Philips Hue system at home to manage my lighting with the Hue Bridge and Philips HUE bulbs. I then connected my Hue Bridge to my Alexa voice assistant to allow me to control my l...

Connected heating: How to save energy?
In a context of energy transition and growing concern for the environment, it has become essential to reduce our energy consumption. One of the main sources of energy expenditure...

Inauguration of the PEP45 showroom
A showroom of technological innovations for vulnerable people We recently participated in the inauguration of the showroom of PEP45 on Olivet. Who are the PEP45? The PEP (Pupils of Public...

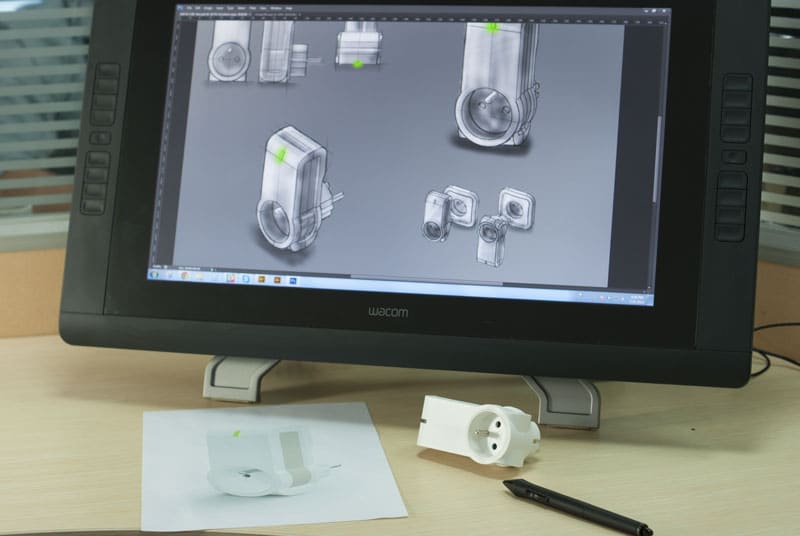
Eco-design & eco-manufacturing of NodOn products
Eco-design & eco-manufacturing of NodOn products Whether we are ordinary citizens, committed activists or industrialists, we are all now aware of the climate emergency that su...
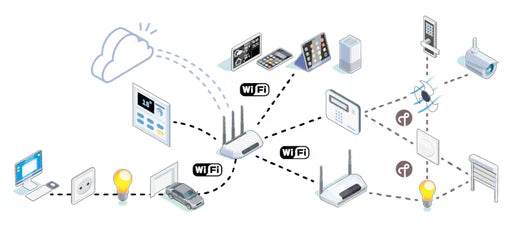
NodOn develops its Matter over Thread products
NodOn is working on Matter for 2 years and has chosen to develop its Matter products with the Matter over Thread structure. Matter debuts around Wifi and Thread In its first vers...

NodOn integrates zero crossing into its new Zigbee products
The purpose of zero crossing is to switch the relay precisely at the moment when the electrical voltage is at zero volts. What is zero crossing? The electrical network works in alternating ...
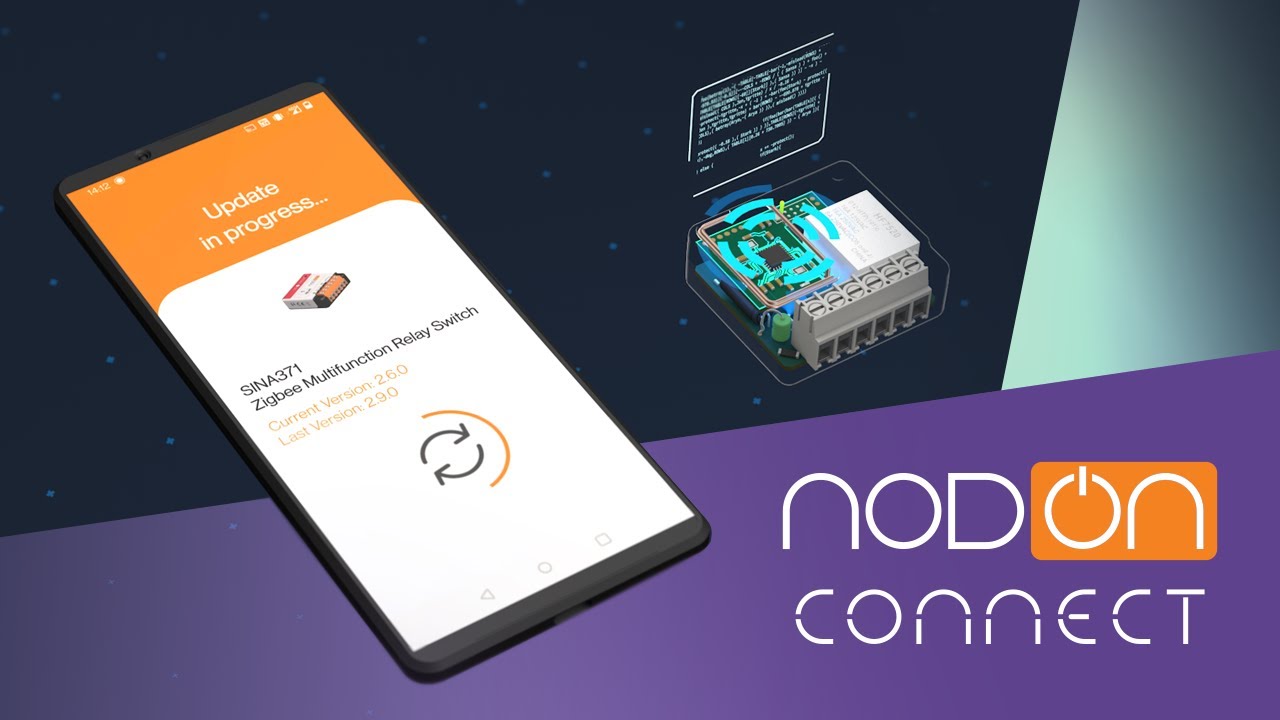
What is the NodOn Connect application used for? NodOn Connect is an application available on the Apple store and the Play store. This application allows you to update the firmware (int...
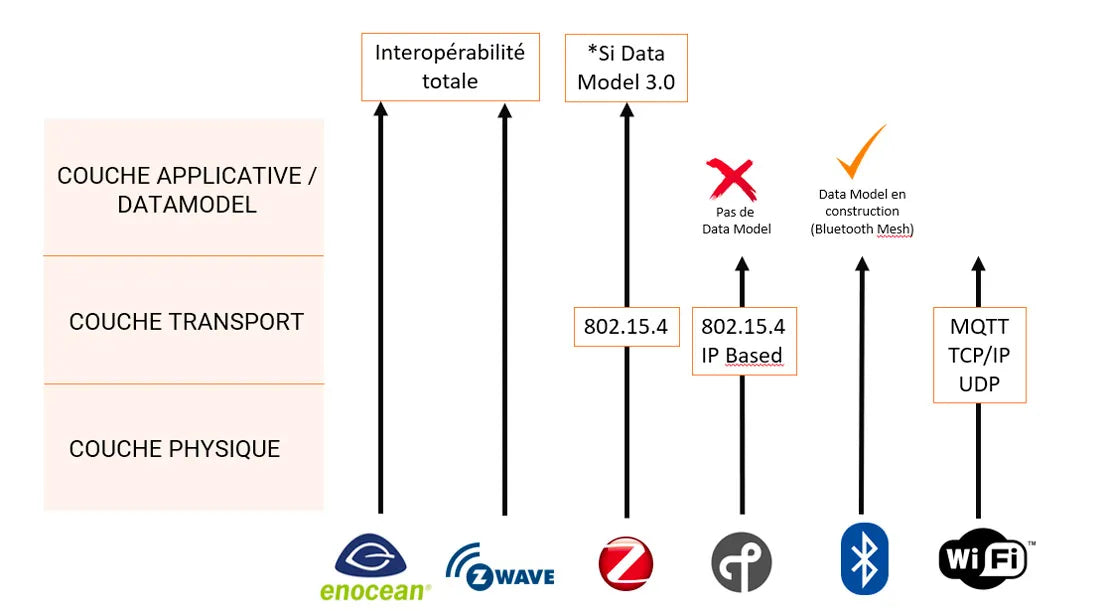
Interoperability in IoT: definition and solution
Interoperability is a known issue for IoT players. This is reinforced by the proliferation of connected objects that do not communicate with each other and gateways that cannot interpret the d...

Matter, the new standard for the connected home
If you follow the world of connected objects, and more particularly that of the connected home, closely or from afar, you cannot have missed the new Matter radio protocol. If not; ...
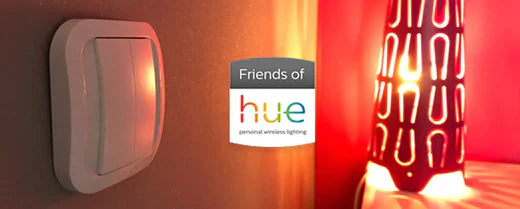
Enjoy a worry-free lighting experience for your entire home
We present to you our Battery-Free Switch for Philips Hue: Control all your Philips Hue lights without needing your smartphone This Friends of Hue wireless and battery-free...
