Technical specifications
Power supply: 2 x 1,5 V AA/LR6
Threaded connectors: M30 x 1.5 mm
Control Range: 8-28°C
Adaptors : RA, RAV, RAVL
RF Protocol: Zigbee 2,4 GHz
RF power max: +8 dBm
Device ID Type : Thermostat (0x0301)
Signal Range : 30m indoor
Protection rating: IP20
Environment / Working temperature: 0-50°C
Dimension: 62 x 68 x 83 mm
Weight: : 230 g (batteries inclues)
Commercial warranty: 2 years
Installation
Getting started
You must connect the NodOn Thermostatic Radiator Valve to a Zigbee network before installing it. The connection process known as ‘inclusion’ can be launched from a primary Zigbee controller (gateway). To do this, the Zigbee controller is configured in include mode. (See the user manual supplied with your Zigbee controller).
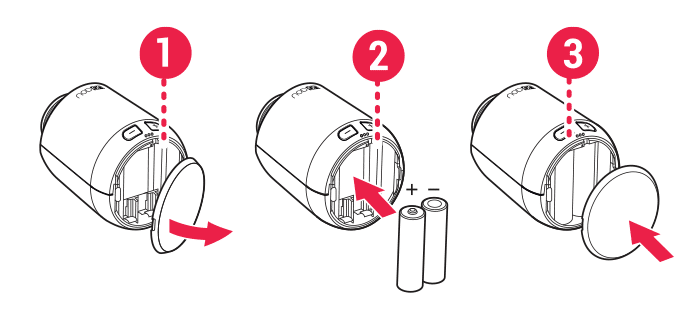
1 – Open the battery compartment cover.
2 – Insert the batteries supplied as shown. Make sure the polarity is correct and do not use rechargeable batteries!
3 – Close the battery compartment cover, which will lock audibly.
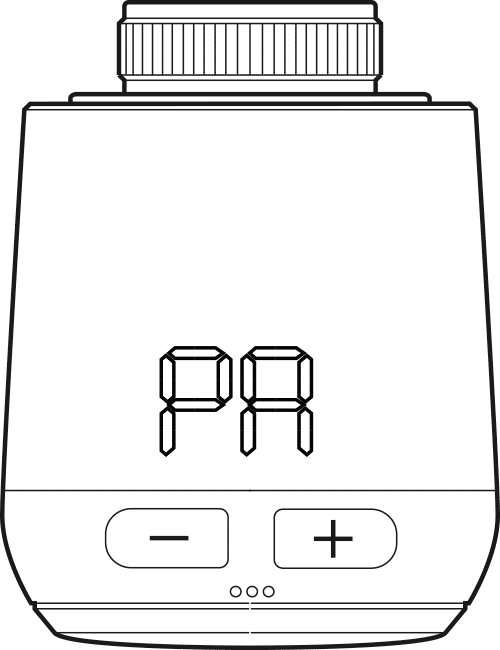
PA appears on the display, see section “Connecting to the Zigbee network”.
Adding to a zigbee network
To be able to use all the functions offered, you need to connect the NodOn Zigbee Thermostatic Radiator Valve to a Zigbee controller:
– The batteries have been inserted
– appears on the display
– The Zigbee controller is in pairing mode (Inclusion)
If an error occurs (for example ), press the – or + key to confirm the error message and repeat the process.
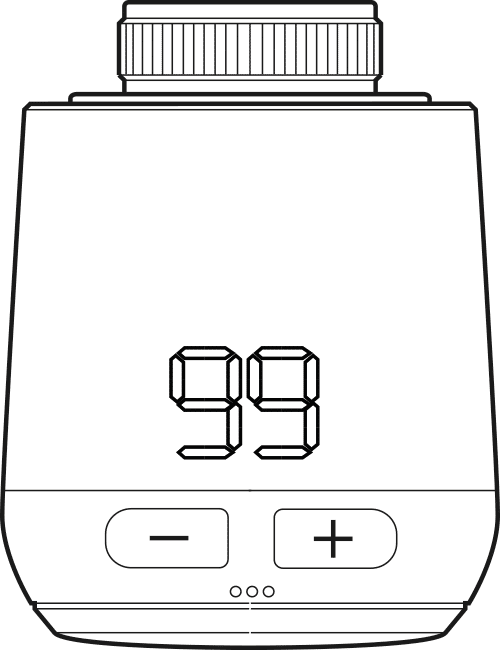
The connection is established. The display shows the countdown from 99.
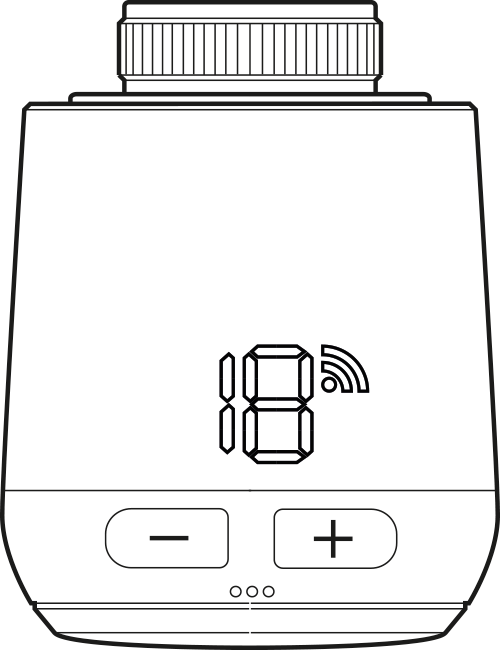
Adding process successful. Node ID and radio symbol are displayed.
After 5 seconds
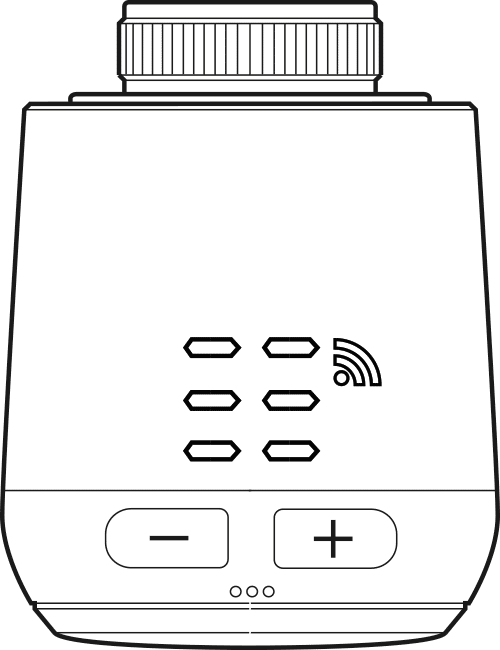
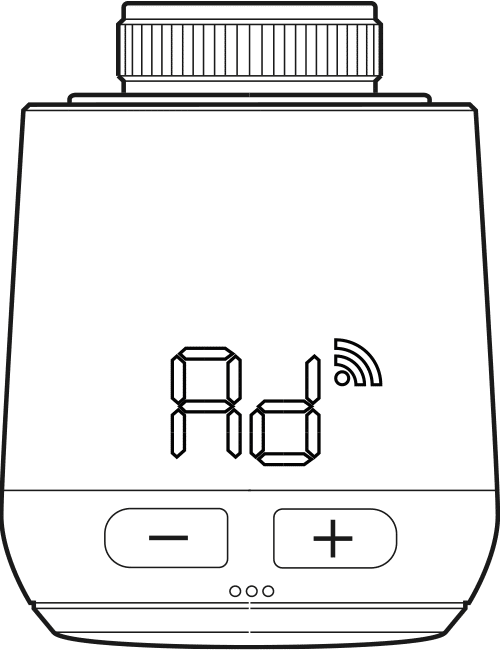
The wait animation is displayed while reaching the installation position (Ad).
Note:
With Node ID > 99: Initially, the 100 digit flashes, then the 10 and single digits.
Example > Node ID 235: 2 flashes, then 35 appears.
Installation on the radiator
When Ad appears on the display, install the NodOn Zigbee Thermostatic Radiator Valve on the radiator concerned.
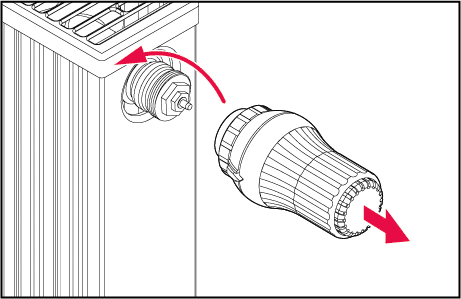
1 – Open the thermostatic valve head fully.
2 – Loosen the fixing and remove the regulator head from the radiator.
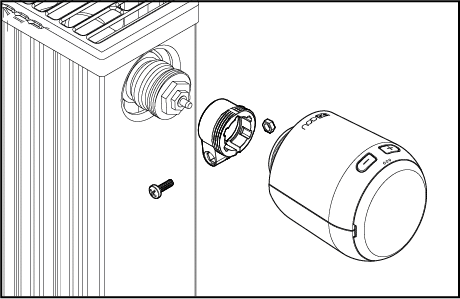
3 – The NodOn Zigbee Thermostatic Radiator Valve may require an adaptor depending on your radiator. If so, please choose the appropriate adapter from those supplied as accessories.

Adapters for Danfoss RAV, Danfoss RA and Danfoss RAVL are supplied with your NodOn Zigbee Thermostatic Radiator Valve. When using the Danfoss RAV adapter, the RAV pin must be inserted on the valve piston.
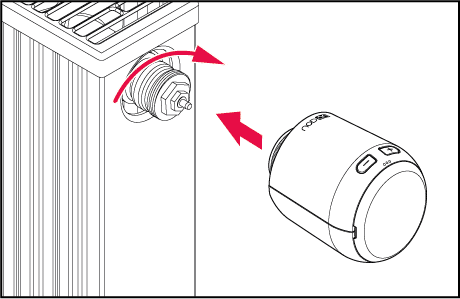
Position your NodOn Zigbee Thermostatic Radiator Valve on the radiator and turn the nut clockwise.
Calibration of the thermostatic radiator valve
After installation, your NodOn Zigbee Thermostatic Radiator Valve needs to be calibrated. The condition is that is displayed on the screen of
your Thermostatic Valve Head.
To start calibration, simultaneously press the + and – buttons on the NodOn Zigbee Thermostatic Valve Head for approximately 3 seconds.
An animation appears on the display during the adaptation process. During the calibration process, the NodOn Zigbee Thermostatic Radiator Valve adapts to the stroke of the radiator head.
The NodOn Zigbee Thermostatic Radiator Valve is opened and closed several times to detect the stroke of the valve.
Once successfully calibrated, your NodOn Zigbee Thermostatic Radiator Valve will display the temperature automatically set to 21°C.
If a problem occurs during this phase, a new calibration is required. Press the – or + button to confirm the error message and repeat the process.
The NodOn Zigbee Thermostatic Radiator Valve must be recalibrated each time the batteries are replaced.
Follow the steps below:
1 – Open the battery compartment cover.
2 – Remove the batteries and wait 10 seconds.
3 – Then reinsert the batteries. Make sure the polarity is correct and do not use rechargeable batteries!
4 – Close the battery compartment cover. The NodOn Zigbee Thermostatic Radiator Valve restarts and enters calibration mode. appears on the display.
5 – To start calibration, press the + and – buttons simultaneously for about 3 seconds.
An animation appears on the screen during the process..
Manual mode
The temperature can be changed manually using the buttons on the NodOn Zigbee Thermostatic Radiator Valve. The temperature range is between 8 and 28°C. If the temperature is raised or lowered beyond the limits, the NodOn Zigbee Thermostatic Radiator Valve switches to Boost or Off mode.
OFF MODE
Press the – button until — appears on the screen.
The NodOn Zigbee Thermostatic Radiator Valve is completely closed.
HEATING MODE
If you change the set temperature using the + or – button,
the NodOn Zigbee Thermostatic Radiator Valve switches to heating mode.
BOOST MODE
Press the + button until ON appears on the screen. The NodOn Zigbee
Thermostatic Radiator Valve opens fully.
Key Lock
You can also activate the key lock directly on your NodOn Zigbee Thermostatic Radiator Valve:
1 – Press the + and – keys simultaneously for 3 seconds and an animation will appear on the screen.
2 – To deactivate, press the + and – buttons simultaneously for a few seconds.
Wait until the animation disappears from the screen.
Reset
To reset the NodOn Zigbee Thermostatic Radiator Valve, press and hold the Reset button for at least 10 seconds. Your settings will be reset to the factory default.
Technical support
Do you have a specific question or need help installing or using your product? Contact us by email at rf.no1737539610don@t1737539610roppu1737539610s1737539610 or on +33 7 68 04 20 90.