
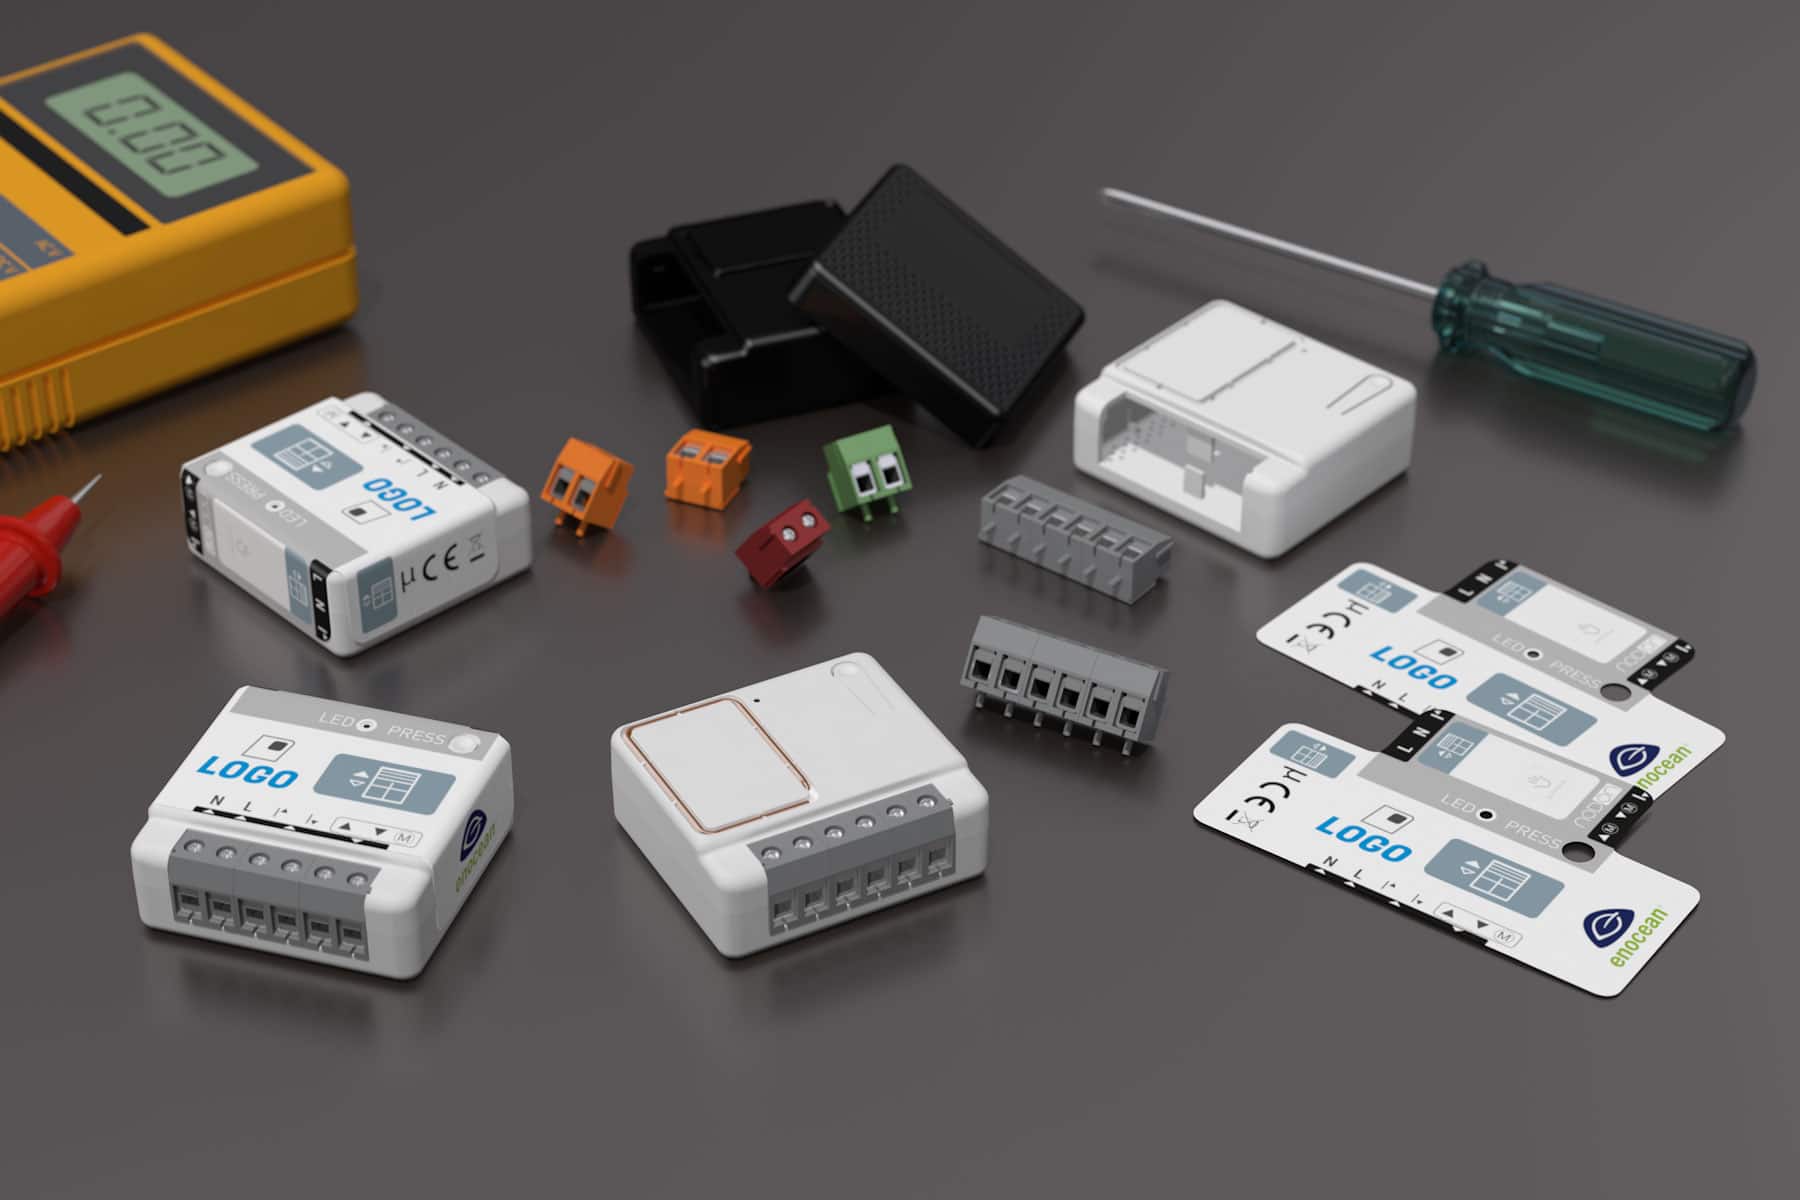
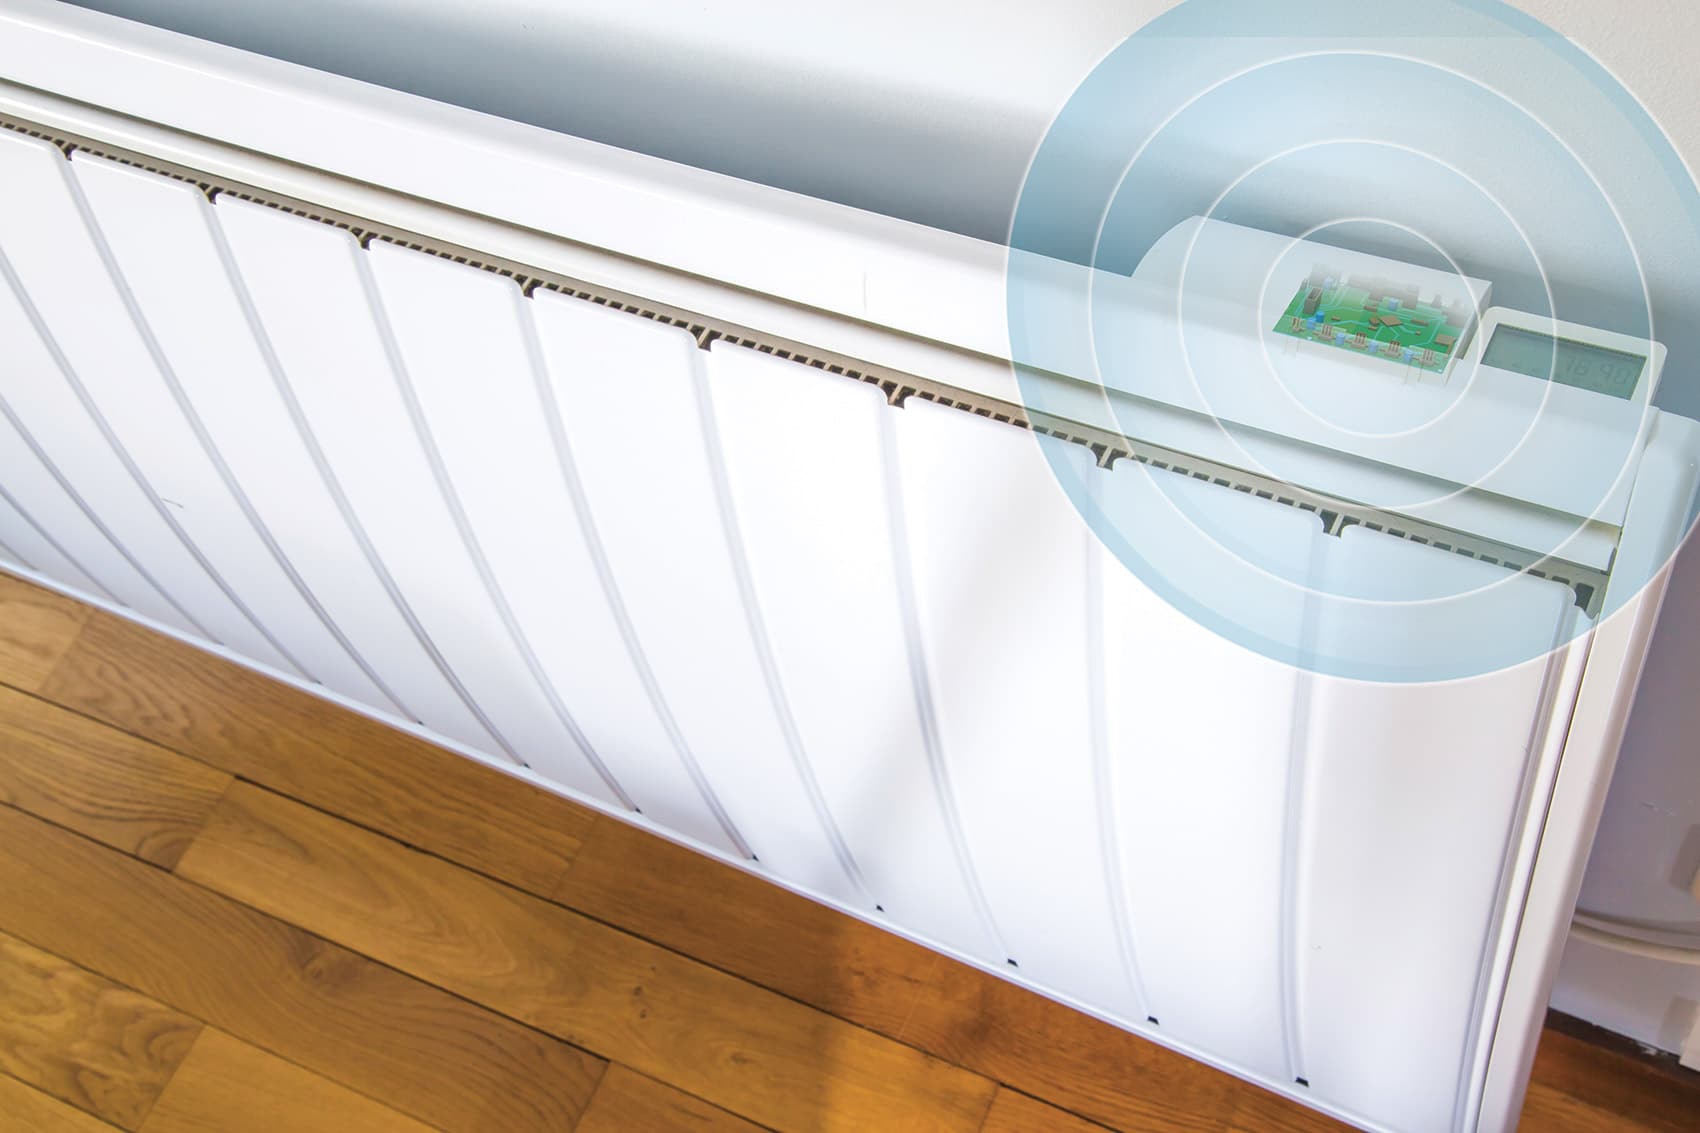

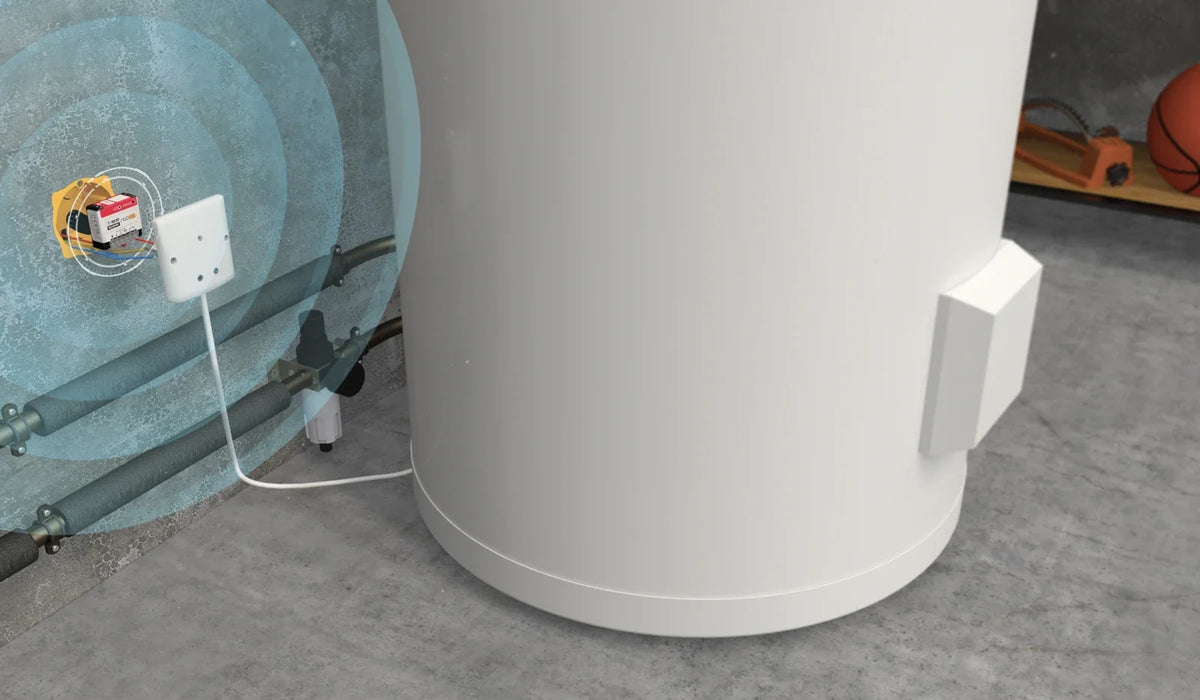
Water heater, radiator without pilot wire, socket or gate: the SIN-4-1-21 fits behind the existing equipment, makes it controllable from your Zigbee gateway or BMS and, along the way, measures the power and energy it consumes.
The problem: controlling without knowing what you consume
Controlling an appliance remotely is useful. Knowing what it actually consumes is what lets you save money. Yet a water heater, a radiator or an appliance plugged into a socket tell you nothing about their consumption: you only discover it as a lump sum on the bill, with no way of attributing it.
The NodOn Zigbee Multifunction Module with energy metering combines both: a relay to control the equipment and a meter to track its consumption, in a module that fits behind a socket or a cable outlet.
The SIN-4-1-21: control and metering in a single module
In a 40 × 44 × 16.9 mm housing, the module combines a 14 A relay, instantaneous power and cumulative energy metering, an input for a wired switch and a pulse mode. It communicates via Zigbee 3.0 with your gateway or BMS.
|
🔌
14 A relay
Up to 3000 W switched, with built-in Zero Crossing, for a water heater, a radiator or a socket
|
📊
Energy metering
Instantaneous power (W) and cumulative energy (Wh) of the connected appliance, reported to your gateway
|
|
🚪
Dry contact and pulse mode
The module can also control a boiler, a gate or a garage door, without energy metering in this case
|
🎛️
Keep your wired switch
Input I1 accepts an existing switch; the module automatically detects whether it is a push button or a standard switch
|
Installation: with or without energy metering
The module is connected to the neutral and live, using 1.5 to 4 mm² cables stripped to 8 mm. Two families of wiring set-ups are described in the user guide:
|
Option 1
Socket or 230 V appliance, with metering
The appliance is connected to the module's live output, behind the socket or cable outlet. You control it and track its power and the energy it consumes.
|
Option 2
Dry contact, without metering
Maintained contact for a boiler (on the two wires of the room thermostat), or pulse contact in parallel with the push button of a gate, a garage door or an electric strike. No measurements are reported in this case.
|
Setup in 3 steps
|
1
|
Wiring and powering up
With the power off, remove the socket, switch or cable outlet, wire the module according to the chosen diagram, then reassemble everything and restore the power. If a wired switch is connected to input I1, press it once so that the module detects its type.
|
|
2
|
Adding it to your Zigbee network
When powered up, the LED flashes orange: the module is looking for a network. Start device discovery on your gateway. Once pairing succeeds, the LED turns green. If no network is found within 15 minutes, it stays orange: a short press on the button restarts the search. The module appears as a Zigbee smart plug (Device ID Smart Plug 0x0051).
|
|
3
|
Control and monitoring
From your interface, you control the relay and track the power and energy consumed by the appliance. Cumulative energy is retained even if the module leaves the network. For access control, first enable pulse mode by pressing the module's button 5 times in quick succession (the LED flickers green).
|
What you can automate
| ☀️ Heating domestic hot water with solar surplus, as in our article Controlling a water heater with the SIN-4-1-21 | 🕙 Running an appliance during off-peak hours only, while tracking what it actually consumes |
| 🔔 Alerts when an appliance consumes abnormally or stays on for too long | ⚡ Load shedding of a radiator or water heater when the home's overall consumption is too high |
The product
The SIN-4-1-21 fits behind a socket, a switch or a cable outlet, or in the consumer unit with the NodOn DIN Rail Box, and communicates directly with your Zigbee gateway or BMS.
|
Actuator
SIN-4-1-21
Zigbee multifunction module with energy metering
View product →
|
Key specifications
Switching: 230 V AC – 14 A
Max. power: 3000 W, Zero Crossing
Metering: power (W) and energy (Wh)
Protocol: Zigbee 3.0, OTA updates
Dimensions: 40 × 44 × 16.9 mm
|
Resources
| 📄 Product page |
| 📖 User guide [FR / EN] |
| 📊 Datasheet [EN] |
| 📚 “Building a Residential EMS with Home Assistant” series, by Pascal Stephany [EN] |
| 🔗 SIN-4-1-21 on Zigbee2MQTT [EN] |


Leave a comment
This site is protected by hCaptcha and the hCaptcha Privacy Policy and Terms of Service apply.